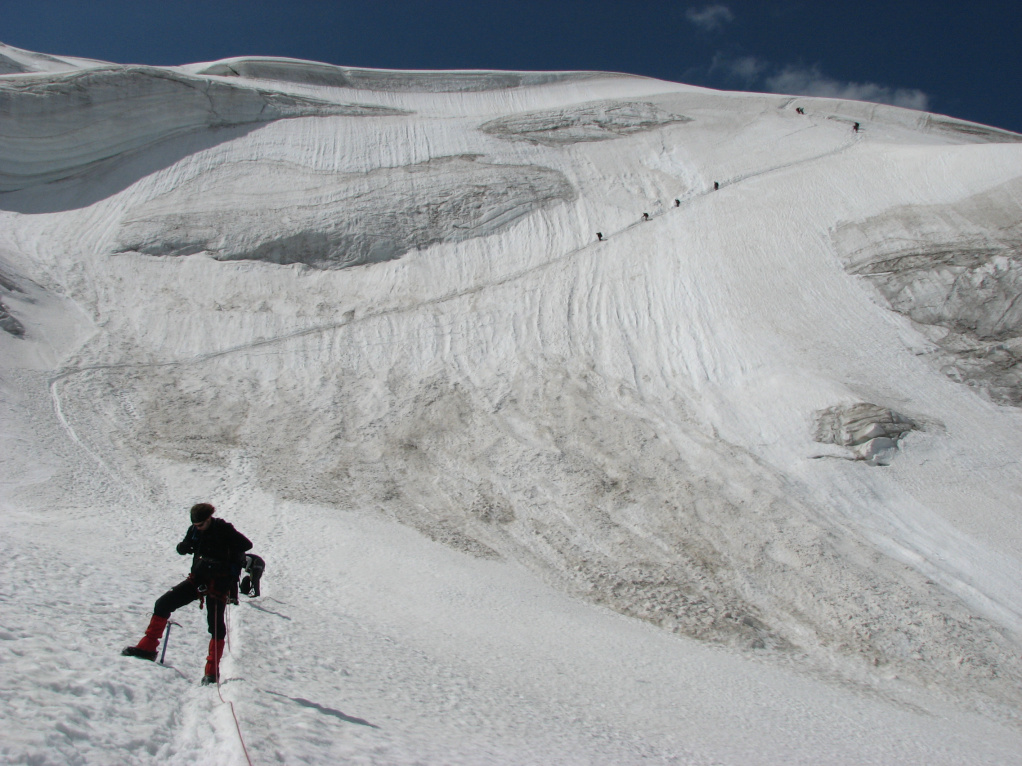
2. Hochtour, Foto 10 (Abstieg vom Grat):
nšchstes Bild
nšchstes Bild
‹bersicht 2. Hochtour
zurŁck zur Gesamt-‹bersicht